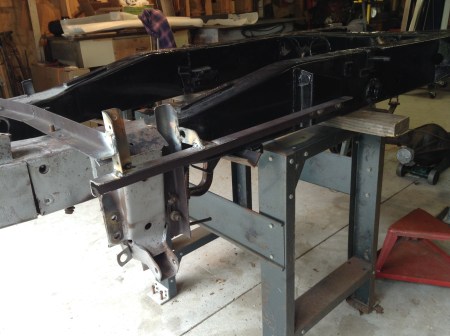
I had to regroup. I clamped and tack welded the forward cross member back in place. I had previously tack welded a piece of angle iron from rail to rail to prevent the frame from springing either in or out once the forward cross member was cut loose. Then I strung a center line with masons string.
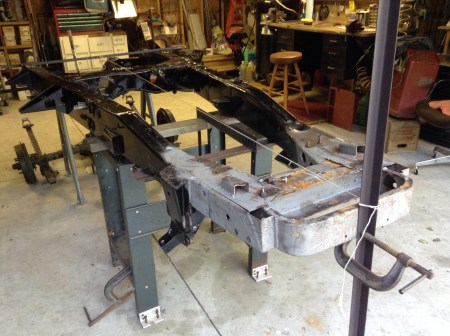
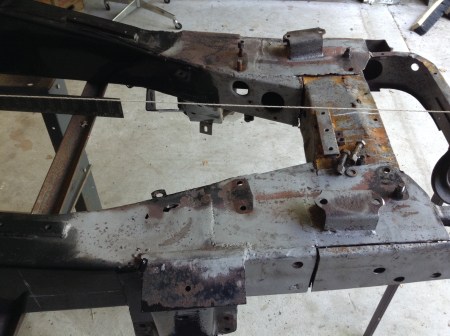
At intervals along the length of the frame I measured overall rail to rail dimensions as well as rail to center line and noted them on a diagram. There were differences up to 3/8″ which I attributed to a prior impact to the right front. I compared them with dimensions as given in Bernard Viart’s Jaguar XK140 Explored. (Anyone undertaking a restoration of a 140 will find this book very helpful. Don’t let yourself get ripped off though, there are copies on eBay advertised for $1,000. +! I was able to get mine through Welsh Jaguar for $225. in 2016. Still expensive but invaluable.)
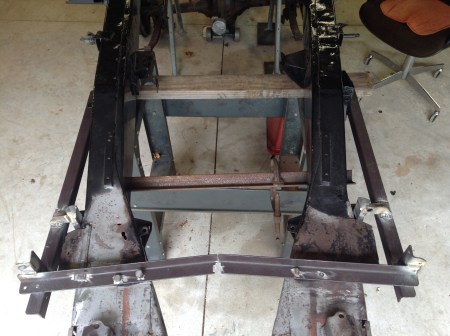
In order to relocate the shock towers accurately I fabricated a pair of jigs from light 1″ angle iron.
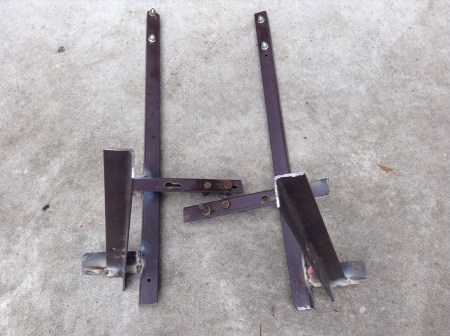

I attached them with bolts to an area of the rails that would not be replaced, i.e., the master cylinder brackets.
I attached the front to mounting holes in the shock towers themselves and drilled holes to relocate the lower wishbone control arms.

Once this information was recorded I was free to commence cutting the frame apart.
Tags: automotive restoration, British sports cars, classic cars, Frame repair, Jaguar XK, Jaguar XK140, layout, welding

Leave a comment