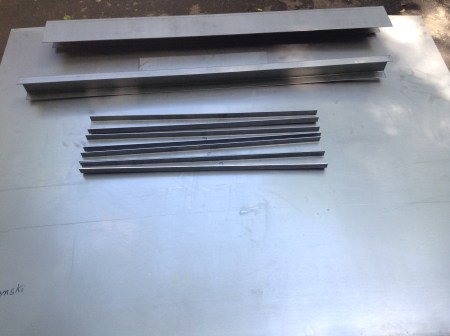
There was no point in scabbing in little bits of steel. My location, Southeast Michigan, still has a large amount of smaller steel fabrication shops servicing the auto industry, construction, etc. I walked into Lyndon Fabricators, Redford Michigan, with an idea, a handful of sketches and a pocket of money. They were helpful and happy to take on a small project. They provided me with one 4’x10′ sheet of 18 gauge mild steel (for the fabrication of body panels) and one 5’x10′ sheet of 11 gauge mild steel (.120″). They also sheared and bent pieces according to my sketches. The sketches included duplication of the frame rails at the front of the chassis as well as the rear “extension assembly”. The entire bill came to $540.00.
Sourcing a piece of rectangular tube locally was a little more difficult. If you want to buy a ton of the stuff it’s dirt cheap. If you only want 8′ it’s expensive. I never used to have to buy steel; I was an ironworker before retirement and I could get pretty much whatever I wanted for free. (I built an entire 20’x20′ cabin of scrounged steel, maybe a topic for another blog.)
I couldn’t bum what I needed from former employers and local steel suppliers were too expensive. I found a place, Online Metals, that shipped a piece of 3″ x 5″ x 0.12″, 8′ long to my door for $136.62.
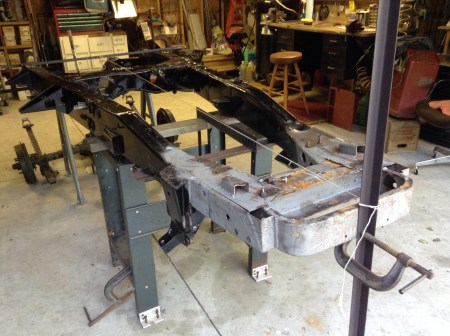
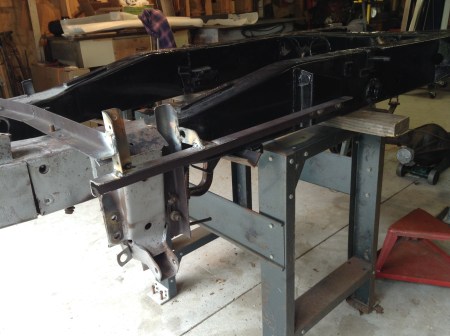
Lyndon did a very accurate job fabricating my pieces and it was now up to me to put it all together.
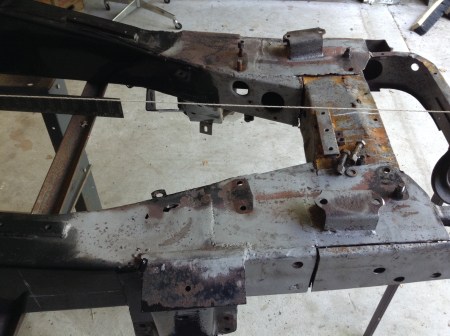


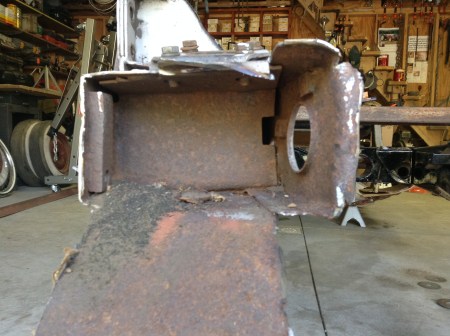
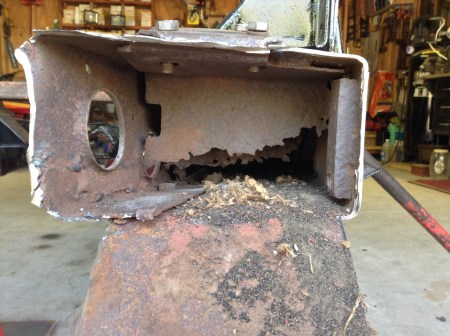
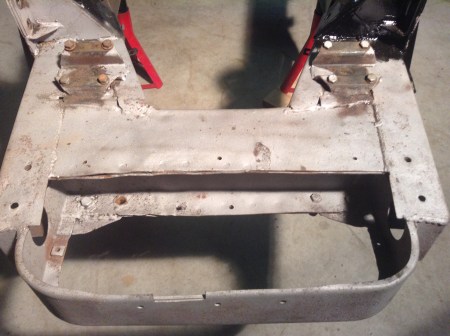 Maybe I could get away by just replacing the forward cross member. If I could pop it loose, leave the frame rails and steering rack mounts, that might do it:
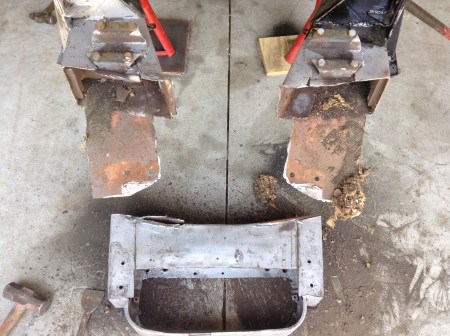


You must be logged in to post a comment.